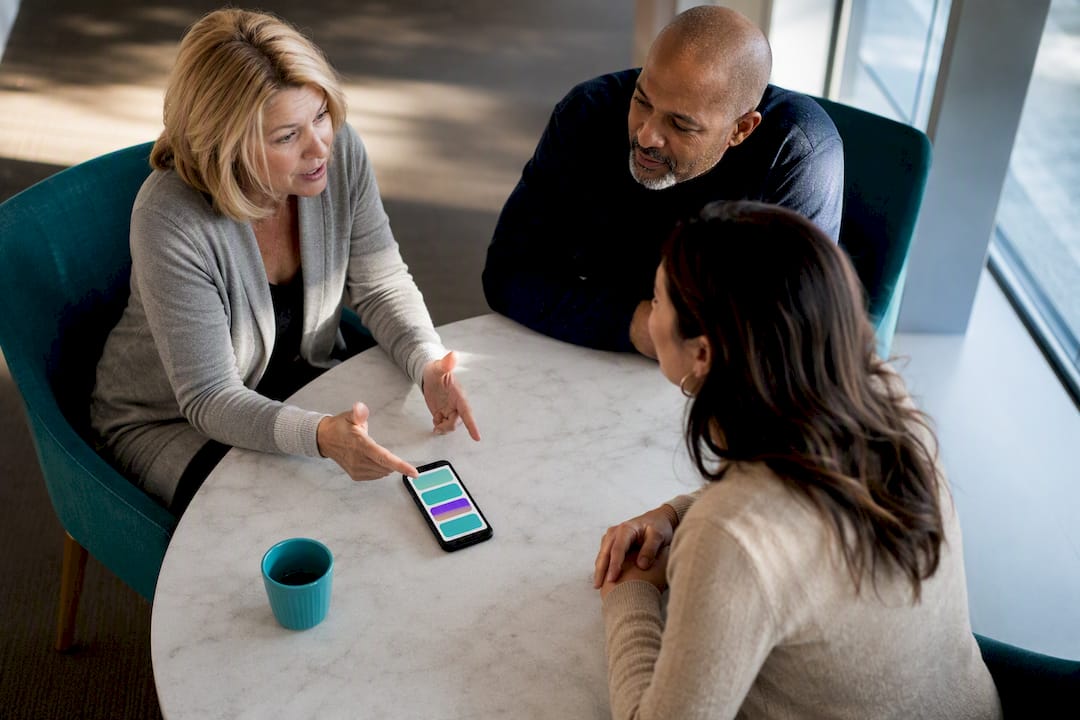
Build a small, verified circle of a few emergency contacts inside your wellness app, give each one role-based permissions, and confirm they’ve accepted before you need them. Once that’s done, turn on missed-check-in alerts and set up your phone’s Medical ID. That combination, a verified in-app network plus a device-level backup, closes the gap between “someone should know” and “someone actually knows in time.”
TL;DR:
- Use a short, role-based contact circle of three to five trusted individuals, ensuring each one understands their specific emergency response role.
- Verify contacts’ acceptance actively by calling and explaining their responsibilities rather than relying solely on app invitations.
- Test the emergency alert system regularly in a controlled way, confirming that all contacts receive and understand alerts without involving actual emergency services.
- Keep medical and location sharing limited to essential information, always with clear, documented consent from the senior, and update it whenever circumstances change.
- Pair app-based alerts with device-level backups like Medical ID or emergency info features to ensure accessibility even if the phone is locked or damaged.
Table of Contents
- What to Gather Before You Add Emergency Contacts
- How Do You Add and Configure Emergency Contacts in the App?
- Choosing the Right Contacts and Setting Clear Expectations
- Testing Your Emergency Contact List Without Causing Chaos
- Protecting Privacy While Keeping Safety Front and Center
- Why a Verified Contact Network Matters More Than a Long One
- See How Well-Check Puts This Guide Into Practice
- Where to Go Next for Device Setup and Community Support
- Sources
What to Gather Before You Add Emergency Contacts
Before you open the app and start typing names, spend ten minutes collecting the details you’ll actually need. Rushing this step is how people end up with a contact list full of disconnected numbers and no clear chain of command.
Get these basics for each person you plan to add:
- Full name and relationship to the senior (spouse, daughter, neighbor, home health aide)
- Primary phone number and a backup number, plus email if the app supports it
- Name of the senior’s primary doctor
- A short note on major medications or allergies, kept brief and factual
Then make two decisions before you touch the settings screen. First, assign roles: a primary responder who’s usually reachable, a local backup who can physically get there, and an out-of-area contact who can coordinate by phone if local help stalls. Second, pick a delivery method for each person, push notification, text, or phone call, based on how they actually use their device. Finally, check that the senior’s phone can support Medical ID or ICE information on the lock screen. Older devices sometimes need a software update before that feature works properly.
How Do You Add and Configure Emergency Contacts in the App?
Most wellness and check-in apps keep emergency contact settings inside the user profile, usually under a tab labeled “Emergency Network” or “Safety Contacts.” The layout differs slightly between apps, but the core fields are consistent enough that this walkthrough applies broadly.
- Open the profile section and select the option to add a new emergency contact.
- Enter the contact’s name, relationship, primary phone number, backup number, and email address.
- Choose what that contact can see: real-time location, medical notes, or both. Not everyone needs full access.
- Set the priority order. Your fastest responder should be first in line, not the person who happens to live farthest away.
- Send the in-app verification or invitation. This step matters more than it sounds. Configuring a contact typically means adding their name, phone, and email, then sending a request so they understand and accept the role, rather than finding out during an actual emergency that they’ve been silently listed. Record their acceptance before you consider setup complete.
- Map each contact to specific alert types. A missed check-in might notify your local backup first, while a manual SOS or fall-detection alert might ping everyone at once.
Pro Tip: Don’t just add a contact and move on. Call them the same day, tell them exactly what they’ll receive and when, and ask them to confirm the invitation. A silent “yes” in an app is not the same as a person who knows what’s expected of them.
Treat the app as one layer, not the whole system. On iPhone, Medical ID sits on the lock screen and shows conditions, medications, and emergency contacts even when the phone is locked. Android’s equivalent, often called Safety or Emergency Information, works similarly but varies by manufacturer and OS version, so check the exact menu path on the specific device you’re setting up.
Choosing the Right Contacts and Setting Clear Expectations
The instinct is to add everyone who cares. Resist it. A circle of three to five people balances speed with redundancy better than a long list where nobody’s sure who’s supposed to act first. Too many contacts means too many people assuming someone else already responded.
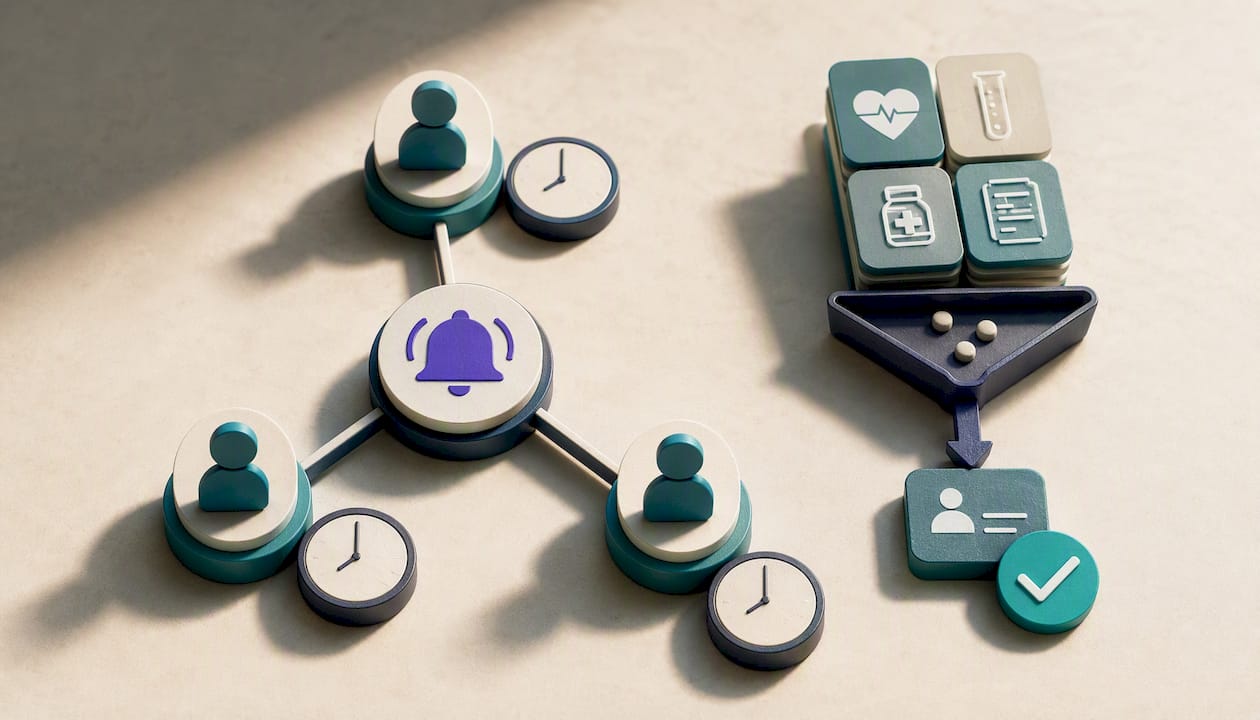
Structure the circle by role, not just relationship:
- Primary responder: the person most likely to answer immediately, day or night
- Local backup: someone who can physically reach the senior within minutes
- Out-of-area contact: a family member who can coordinate calls and make decisions if local help is delayed
- Medical proxy: someone who knows the senior’s health history well enough to talk to a paramedic or doctor
Briefing each contact matters as much as picking them. Tell them exactly what they’ll receive (a push alert, a text, a call), what response is expected (call the senior first, then a neighbor, then 911 if there’s no answer within a set window), and what to do if it turns out to be a false alarm. A simple protocol, “text back ‘confirmed safe’ once you’ve reached them”, prevents duplicate 911 calls from three panicked family members at once.
Watch time zones and schedules. If your primary and local backup both work night shifts, you’ve built a gap into the system without meaning to. Stagger contacts across different daily routines when you can. And limit medical details to what a responder actually needs in the moment, not a full chart. Get explicit consent from the senior before sharing anything medical, every time, not just once at setup.
Testing Your Emergency Contact List Without Causing Chaos
An untested emergency contact list is just a guess dressed up as a safety plan. Test it, but test it safely. Enable airplane mode during a simulation so alerts route only within the app rather than reaching an actual dispatcher, and if you’re testing a phone’s built-in SOS feature, use the canceled call flow instead of letting it connect. Never let a test place a real call to 911.
Run through this checklist during your first test:
- Confirm every listed contact actually received the alert, not just the primary one.
- Check that the location shared matches where the senior actually is.
- Read the alert message yourself. Is it clear enough that a half-asleep relative at 2 a.m. would understand it instantly?
- Ask each contact to reply, confirming both receipt and that they understood what action to take.
Pro Tip: Schedule your first test the same day you finish setup, not “sometime this week.” Problems you catch immediately are easy fixes. Problems you catch during a real emergency are not.
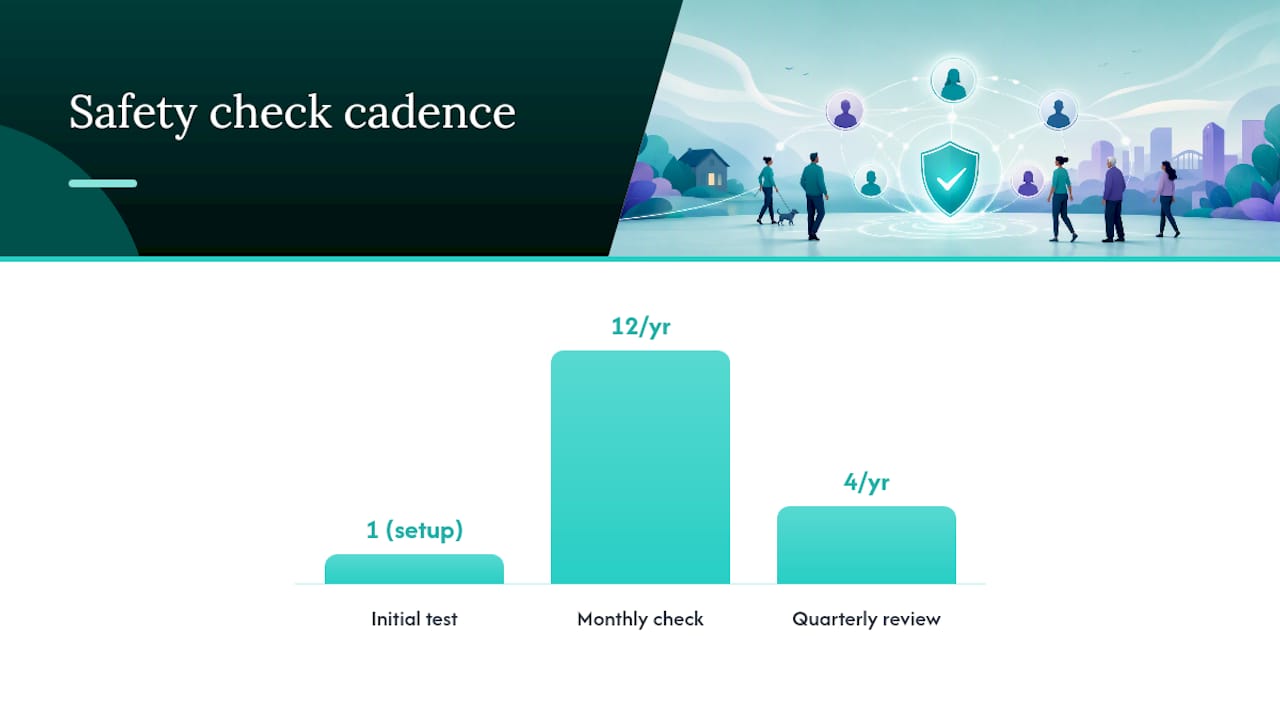
After the initial test, keep a light but consistent rhythm: a quick monthly text or call to confirm contacts are still reachable, and a full quarterly review of permissions, phone numbers, and roles. If a false alarm happens, don’t just shrug it off. Walk through why it triggered, tighten the settings if needed, and update your contacts on what changed.
Protecting Privacy While Keeping Safety Front and Center
Sharing a senior’s location and medical notes only works if it’s done with their clear, documented consent, not assumed on their behalf. Keeping contact information visible and current genuinely helps responders act fast, but that only holds up ethically when the senior agreed to what’s being shared and with whom.
A few habits keep the balance right:
- Share only what a responder needs in the moment: allergies, major conditions, current medications, not a full medical history.
- Get consent again after any real change: a new diagnosis, a hospital stay, a shift in who’s providing care.
- Turn on larger text, high-contrast display, and louder or vibrating alerts if the senior has vision or hearing limitations.
- Simplify the check-in flow itself. A one-tap “I’m okay” button works better for most seniors than a multi-screen form.
Revisit these settings whenever life changes, not just on a fixed schedule. A new grandchild moving into a local backup role, a doctor change, a diagnosis, each is a trigger to update both the contact list and what they’re allowed to see.
Why a Verified Contact Network Matters More Than a Long One
Most families overbuild their emergency contact list and underbuild the verification behind it. I’ve seen the same pattern come up again and again: someone adds six or seven names to feel thorough, and not one of those contacts actually knows they’re listed or what they’re supposed to do when an alert fires. A shorter list where everyone has said yes beats a long one where nobody has.
The other overlooked piece is device-level backup. An app-based network is only as good as the phone it’s running on, which is why some wellness apps pair check-in and alert systems with practical, low-friction habits: daily check-ins, missed-check-in alerts that escalate through your contact priority order, one-tap help for real emergencies, GPS sharing scoped to what each contact actually needs, medication reminders, and caregiver analysis that flags patterns before they become crises.
— Brian
See How Well-Check Puts This Guide Into Practice
Well-Check is built around the exact framework laid out above: quick contact setup with role-based permissions, a verification step so contacts actually confirm before they’re relied on, missed-check-in alerts that escalate in the right order, GPS sharing scoped to what each person needs, and medication reminders that keep the whole picture current.
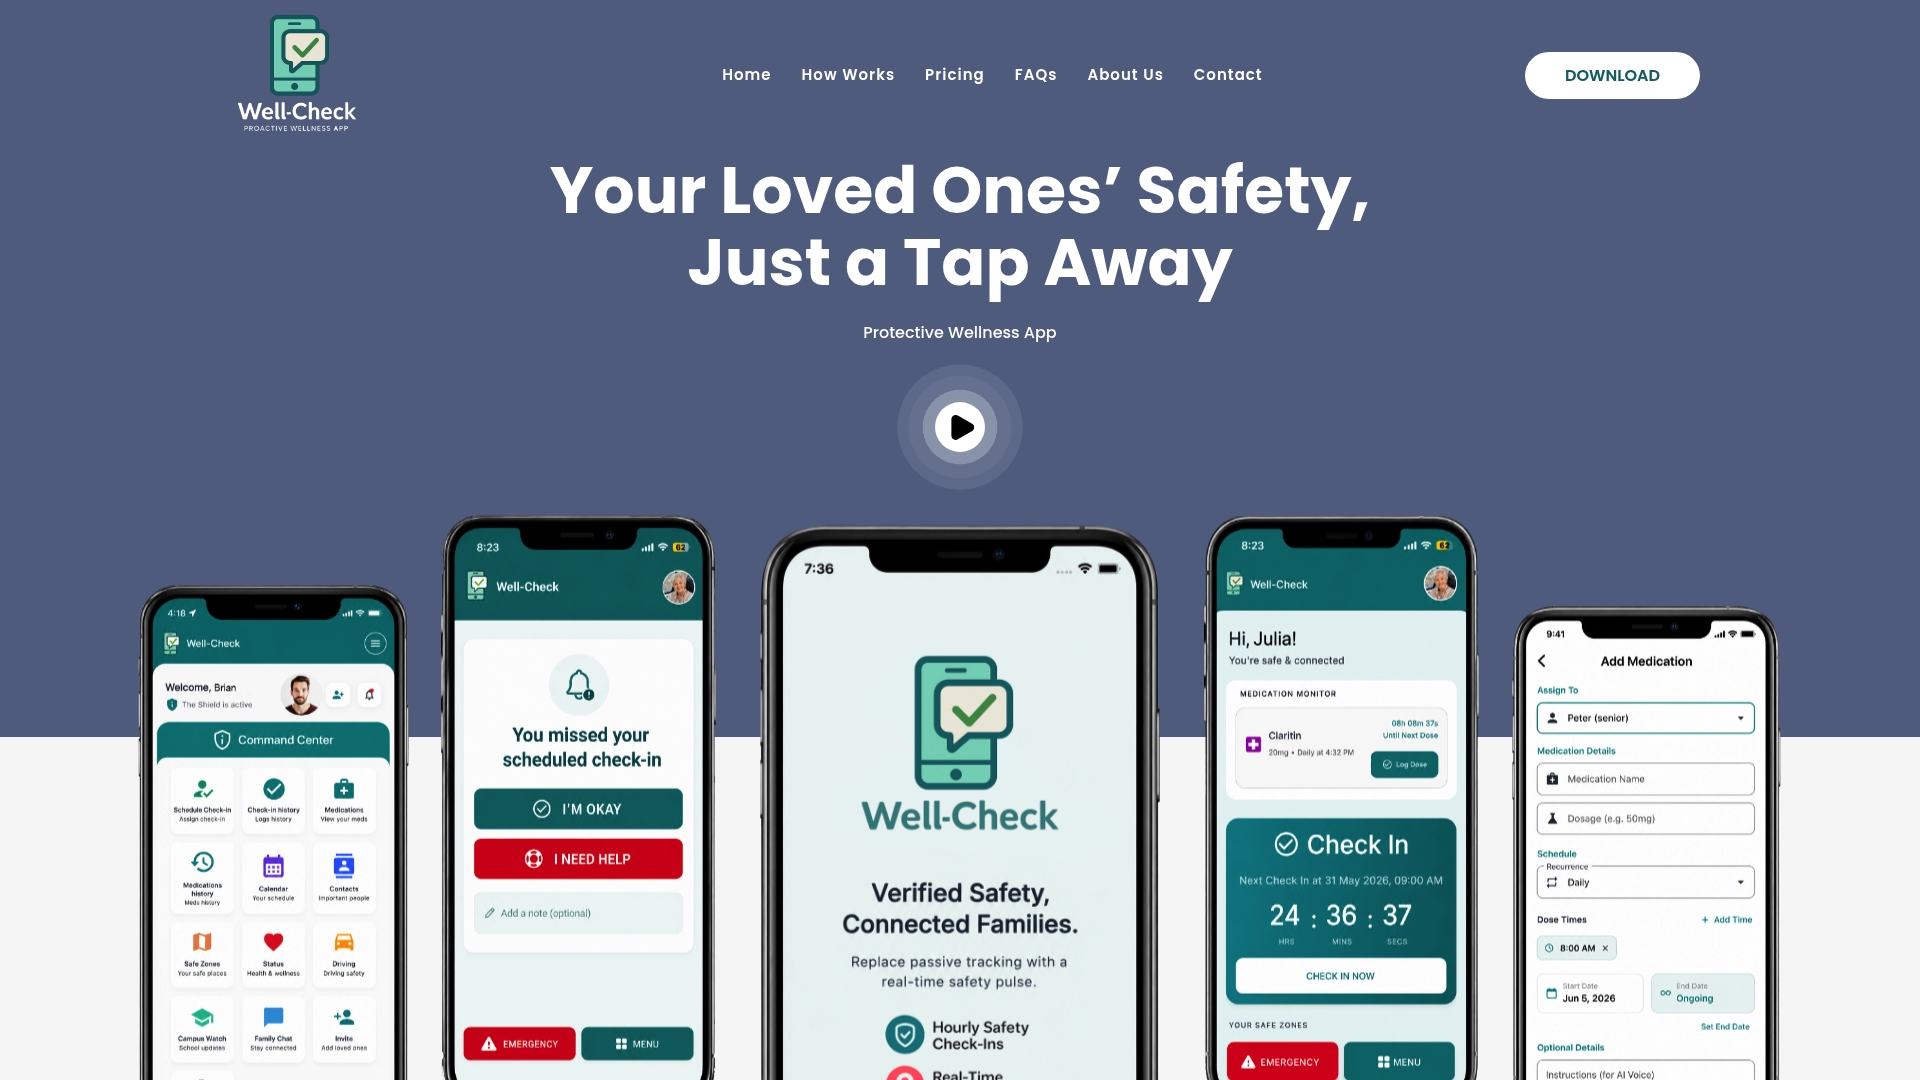
Instead of piecing together a spreadsheet, a separate alert app, and a hope that everyone remembers their role, you set it up once inside a system designed for exactly this. Caregivers get missed-check-in alerts the moment something looks off. Seniors get a one-tap way to say “I’m okay” or call for help without hunting through menus. See how Well-Check works to walk through the check-in and alert flow, or head to Well-Check’s homepage to start a trial and build your emergency contact network today.
Where to Go Next for Device Setup and Community Support
Pair your in-app contact network with device-level backups. Apple’s Medical ID and Android’s emergency information features work even when a phone is locked, which matters if a senior can’t unlock their screen during a fall or medical event, and enabling and testing SOS features safely avoids accidentally dispatching real emergency services during a practice run.
Beyond the phone, physical backups like the File of Life program, a card kept in a wallet or on a refrigerator listing medications and conditions, give first responders another way in in case the emergency contact information on a device isn’t accessible. Community senior centers and area agencies on aging often distribute these cards for free.


[…] more useful, and keeping that list updated is worth revisiting every few months, as covered in our guide to building a verified emergency contact list. For iPhone users specifically, setting this up takes only a few minutes, something we walk through […]
[…] with responsibilities split among family, friends, neighbors, and professionals. Building a verified emergency contact list with three to five people before you draft anything else makes the rest of the checklist go […]