
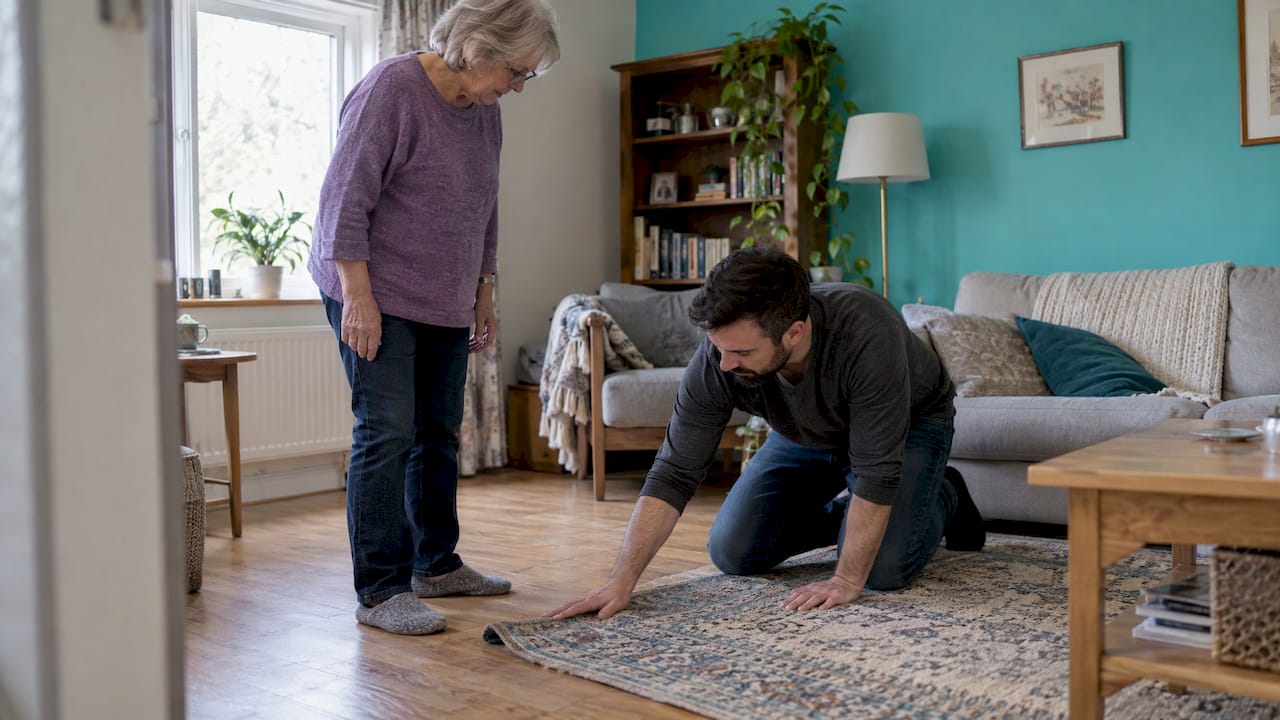
A home safety assessment is a structured walk through a person’s home to find the things that could cause a fall or injury, then fix them. You can do a basic one yourself in about an hour with a checklist. If someone has already fallen, or the hazards are bigger than a rug or a light bulb, an occupational therapist can do a professional version. This guide covers both, room by room, and shows what to do once you have a list.
TL;DR
- A home safety assessment finds hazards such as loose rugs, poor lighting, clutter and slippery bathrooms, then turns them into a short fix list.
- Start with the free National Institute on Aging room-by-room worksheet, and repeat it as the person’s needs change.
- Bathrooms and stairs deserve the most attention: grab bars, nonskid surfaces, handrails on both sides and good lighting.
- A professional visit by an occupational therapist is usually ordered by a doctor, often after a fall. Ask the doctor about coverage.
- A checked-up home still needs a daily safety net for the moments between checkups. That is where a check-in app fits.
Table of Contents
- What a home safety assessment actually does
- Before you start: make it a joint project
- The room-by-room checklist
- Turning the list into a plan
- When to call in a professional
- Beyond the house: the gap between checkups
- Our perspective: assessment plus daily presence
- Add a daily check-in to your safety plan
- FAQ
- Sources
What a home safety assessment actually does
An assessment identifies hazards that may raise the risk of falls or injury. The fixes tend to be simple: non-slip mats, secured rugs, rearranged furniture, grab bars and handrails that support safer movement and aging in place.
It matters because most older adults spend much of their time at home, and many falls happen there. Small changes to the space can lower the risk, and you do not need a contractor to make most of them.
There are two levels:
- A self-guided assessment. A family member, caregiver or the older adult walks through each room with a checklist and notes what needs repair, removal or replacement.
- A professional evaluation. A licensed occupational therapist looks at the person and the home together. According to one provider of these services, therapists assess physical and cognitive state, social support and possible mismatches between the person’s needs and their surroundings.
The second approach catches things a checklist cannot, such as how a person actually moves, reaches and turns in their own kitchen. Most families do the first, then decide whether the second is needed.
Before you start: make it a joint project
The home belongs to the person who lives there. Assessing a home can mean balancing the safest setup with the wishes of the person whose home it is. A parent who feels inspected may say no to every suggestion. A parent who feels consulted often says yes to most.
A few habits help:
- Ask them to walk the house with you and point out what bothers them. They know where they stumble.
- Start with the changes that cost little and take away nothing: a night light, a cleared hallway, a rug taped down.
- Explain each change in terms of staying independent, not in terms of risk.
- Write the fix list together and agree on who does what.
Bring a notepad, a flashlight, a tape measure and your phone’s camera. Photos make it easy to compare before and after.
The room-by-room checklist
The NIA worksheet covers living spaces, stairs, kitchens, bathrooms and outdoors. Here is how to work through the home using the same logic.
Entryways, hallways and living areas
Look at the floor first, then the light, then the furniture.
- Rugs and carpets. Throw rugs should be removed or secured with double-sided tape or non-slip backing.
- Cords and clutter. Move phone and extension cords out of walkways. Clear papers, shoes and books from paths.
- Lighting. Shadowy lighting and patterned carpeting can cause tripping. Add lamps or brighter bulbs where the room is dim.
- Furniture. Arrange pieces so there is a clear route from the bedroom to the bathroom and to the front door.
- Heaters. Keep electric and gas space heaters at least 3 feet from curtains, furniture and other combustible objects.
- Phones. Keep emergency numbers and the person’s home address near the telephones.
Stairs and steps, indoors and out
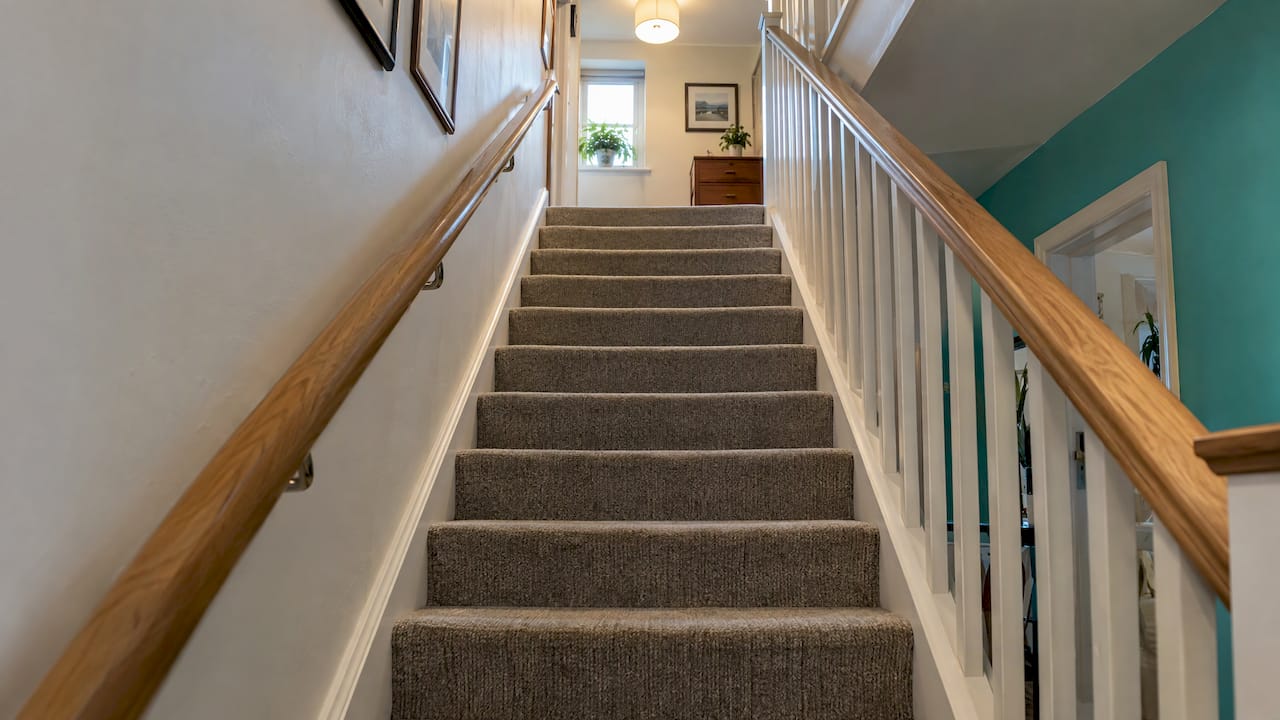
Stairs are where a small hazard becomes a serious one. The CDC’s checklist calls for secure handrails on both sides and adequate lighting, with switches at the top and bottom of the staircase. Also check that nothing is stored on the steps and that the edges are visible.
Outdoors, trim bushes so the path is clear, make sure house numbers are visible from the street, and confirm that door and window locks work easily. A paramedic should be able to find the house, and your parent should be able to lock up without a struggle.
Kitchen
The kitchen is about reach and fire. Move everyday dishes, pots and food to waist-to-shoulder height so no one needs a step stool. Keep floors dry and use non-slip backing under any mat. Check that the stove knobs are easy to read and that a working smoke alarm is nearby.
A stocked first aid kit also belongs here or in the bathroom. This home first aid kit guide walks through what to include and how to keep supplies fresh.
Bedroom
Falls often happen on the way to the bathroom at night. Put a lamp or night light within reach of the bed and light the route. Keep a phone on the nightstand. One habit worth teaching: sit at the edge of the bed for at least 30 seconds before standing, which gives blood pressure time to adjust.
Bathroom
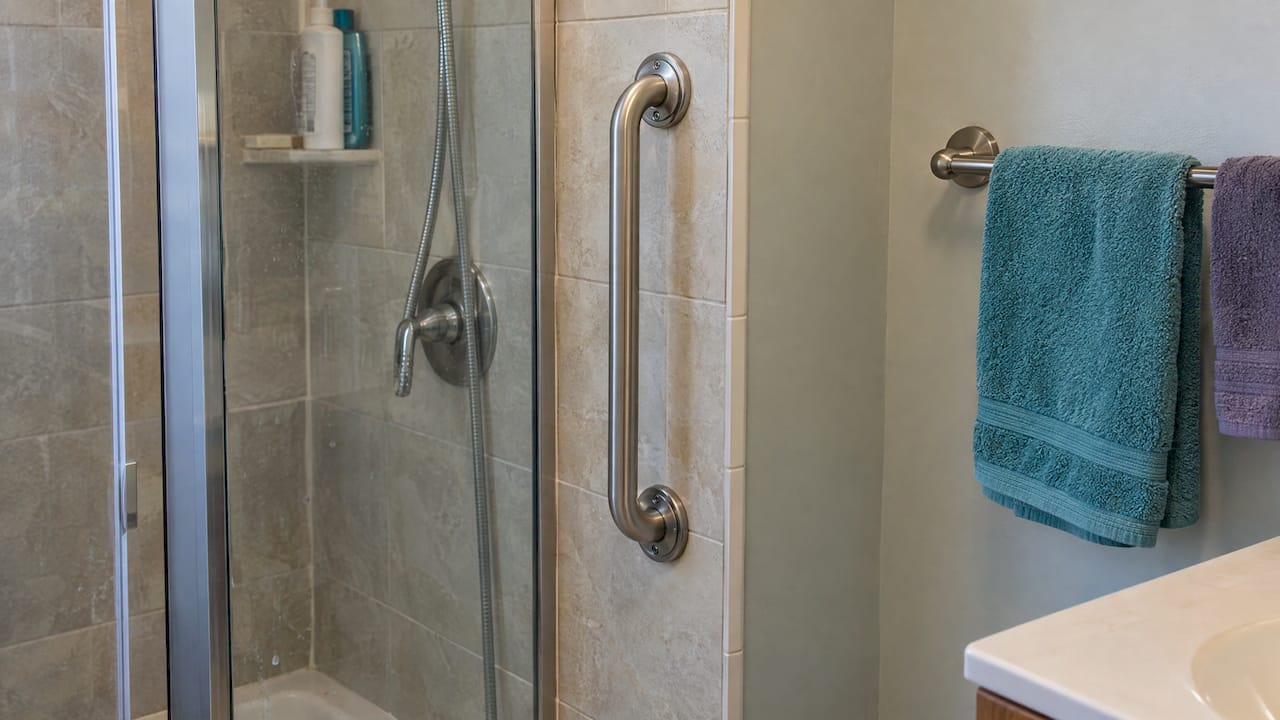
This is the room most readers ask about, and with good reason: wet surfaces, hard fixtures and a lot of standing, sitting and stepping over edges. The NIA suggests grab bars, nonskid mats or strips, a shower stool and handheld shower head, and a night light.
A practical bathroom list:
| Hazard | Fix |
|---|---|
| Slippery tub or shower floor | Nonskid mats or strips inside; a non-slip mat outside |
| Hard to stand up from the toilet | Grab bars or toilet supports |
| Standing in the shower is tiring | Shower stool and handheld shower head |
| Glass shower doors | Replace with non-shattering material |
| Dark at night | Night light between bedroom and bathroom |
| Scalding water | Lower the water heater temperature (see below) |
On water temperature, two reputable sources give different numbers. The NIA suggests setting the water heater to 120°F, while Age Maine’s guidance mentions below 105°F to help prevent scalding. If your parent has reduced sensation in their hands or feet, or has dementia, ask their doctor which setting suits them. Have a plumber or the water heater’s manual guide the adjustment.
Grab bars must be anchored into wall studs or with rated anchors. A towel rack is not a grab bar. If you are not sure how to install one, ask a handyperson.
Turning the list into a plan
A page of hazards can overwhelm. Sort it in three passes.
- Do today. Remove or tape down rugs, clear cords, swap bulbs, add night lights, put emergency numbers by the phone.
- Do this month. Install handrails, grab bars, a handheld shower head and a shower stool. Rearrange kitchen storage.
- Get help. Anything involving wiring, stairs, a step into the shower or major bathroom changes.
For small jobs, ask a family member, friend or local handyperson. For larger ones, a professional assessment can set out what is worth doing first.
Re-run the checklist regularly. The NIA worksheet says to reevaluate every so often as behavior and needs change. After a hospital stay, a new medication or a fall are all good moments to walk the house again.
If you want a longer version focused on people who live alone, our living alone safety checklist adds monthly tests, and our senior safety checklist is built to be completed in one sitting.
When to call in a professional
A self-guided walk-through is a good start. Consider a professional evaluation when:
- The person has fallen, or nearly fallen, more than once.
- A doctor has raised concerns about mobility, vision or memory.
- The person is coming home from the hospital or a rehab stay.
- The hazards are structural: steep stairs, a high tub wall, narrow doorways.
If an older adult has fallen, a doctor might suggest that an occupational therapist, physical therapist or nurse visit the home to assess safety and advise on changes. In the UK’s NHS guidance, the therapist and resident work together to identify difficulties, even small ones like opening a cupboard. A good visit follows the same approach.
The first call is the person’s primary care doctor, who can order the evaluation and refer to a licensed occupational therapist.
Cost and Medicare
In the United States, home safety evaluations are typically ordered by a physician and primarily reimbursed through Medicare Part A. Coverage depends on the person’s situation, such as a recent hospital stay or home health care, so ask the doctor’s office and Medicare or the person’s Medicare Advantage plan before booking. Prices for private-pay visits vary by provider and region, so request a quote.
Beyond the house: the gap between checkups
A safe home lowers risk. It cannot eliminate it, and it cannot tell you what happened at 8 a.m. when your mother usually answers the phone. Someone who lives alone can fall in a perfectly safe house.
An emergency response system is one answer. The NIA notes it can help someone get assistance after a fall, though the service has a fee and is usually not covered by insurance. A daily check-in is a lighter complement: the person confirms they are okay, and if they do not, someone is told.
If you are building a fuller safety plan, these guides cover the next steps: 3 moves to start a safety plan, building an emergency contact list and assembling a caregiver emergency binder.
Our perspective: assessment plus daily presence
We built Well-Check for families who have done the hard work of making a home safer and still lie awake wondering whether Mom got up this morning.
A home assessment answers “what could go wrong in this house?” A daily check-in answers “is everything fine today?” You need both, and the second one is the one that is easy to forget.
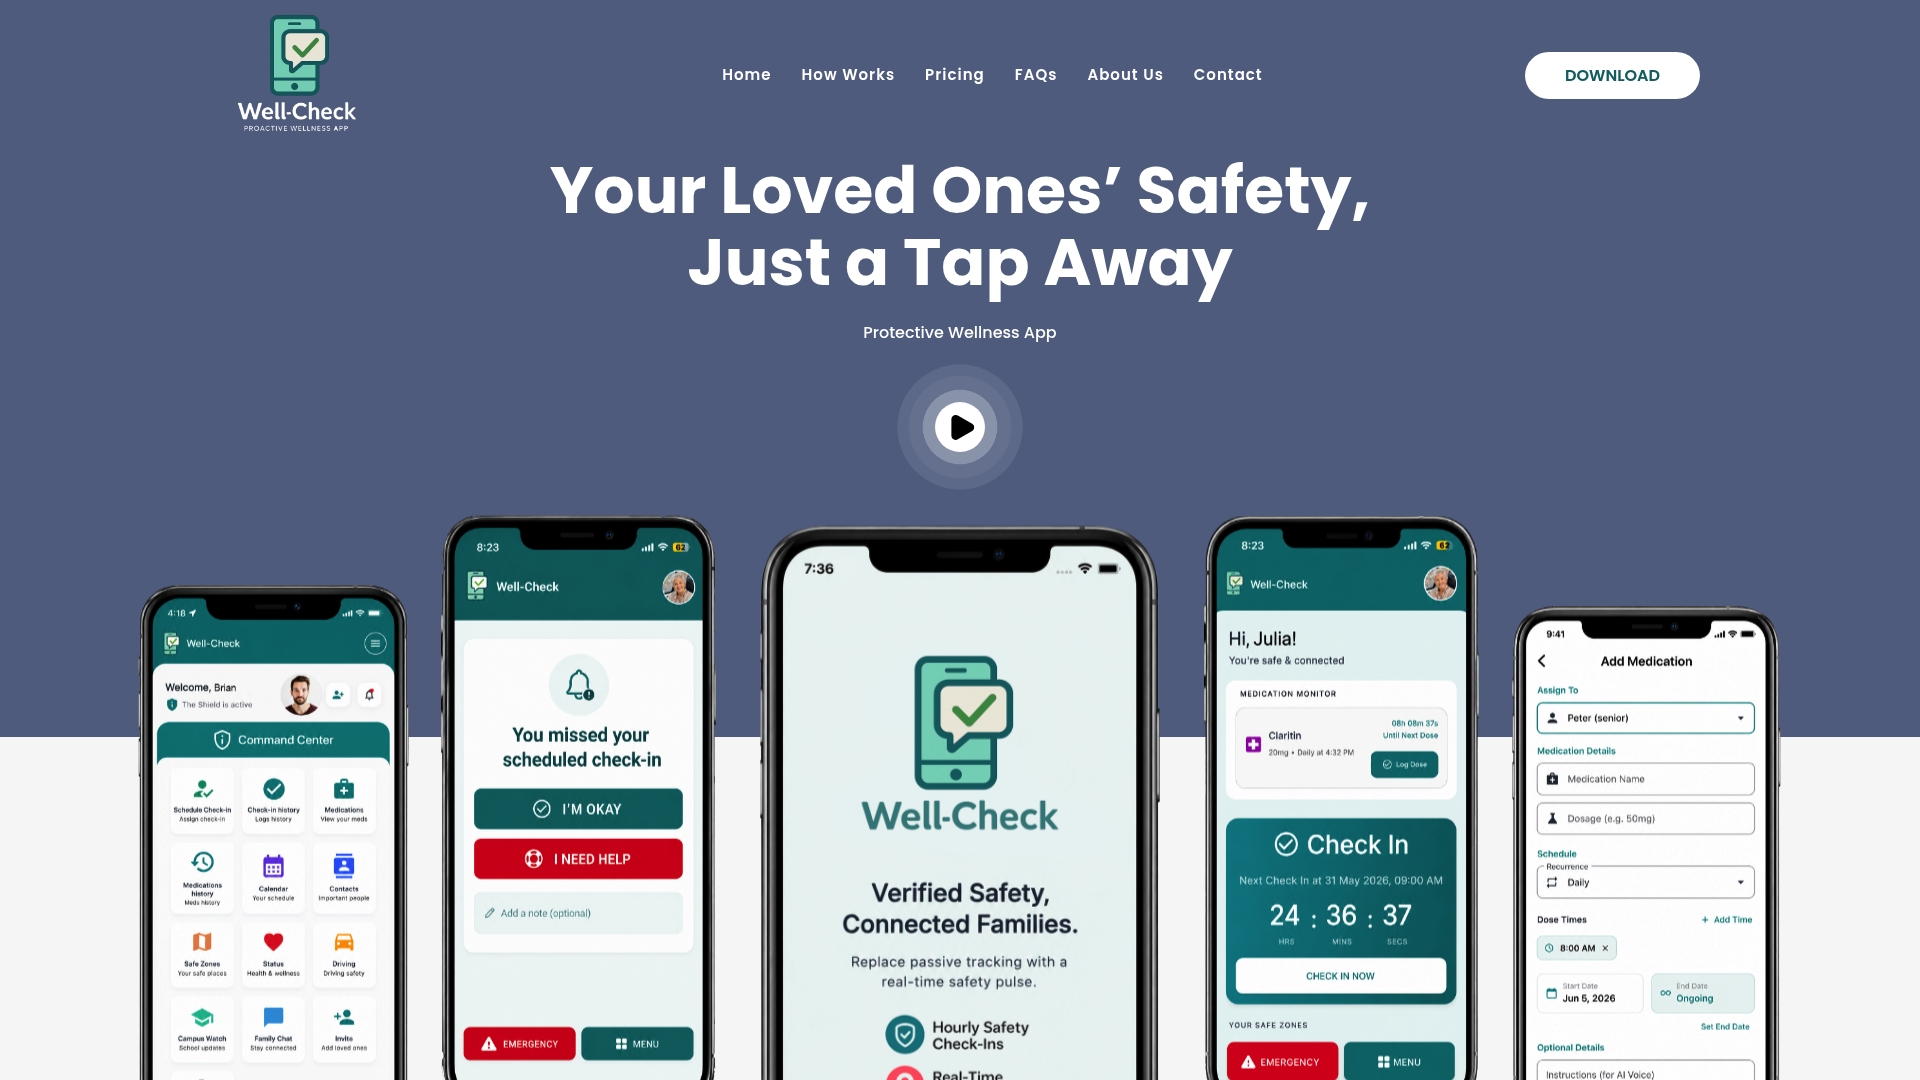
Our approach is built on simplicity and dignity. One tap says “I’m okay.” If a check-in is missed, the people on the emergency contact network are alerted. Medication reminders, advanced scheduling and optional GPS features are there to support independence, not to watch over someone’s shoulder.
We suggest finishing your room-by-room checklist first, then setting up the check-in with your parent at the kitchen table, so it feels like their tool and not a monitor.
Brian
Add a daily check-in to your safety plan
Well-Check is a wellness and safety app for people who live alone. It offers one-tap “I’m okay” check-ins, missed check-in alerts to emergency contacts, medication reminders, a customizable emergency contact network, GPS tracking and smart caregiver analysis. Plans are published at two prices: Essential at $5.99 per month and Complete at $7.99 per month.
To get started, see the pricing plans, or read how a missed check-in protocol works so your family knows who does what when an alert arrives.
FAQ
What is included in a home safety assessment?
It covers every area of the home, usually living spaces, stairs, kitchen, bedroom, bathroom and outdoors. The assessor looks for trip hazards, poor lighting, missing handrails, slippery surfaces and unsafe heat sources. The result is a list of changes or repairs, ranked by priority.
Can I do a home safety assessment myself?
Yes. A free checklist such as the NIA worksheet lets you walk through the home and note what needs to change. If the person has fallen or has complex needs, ask their doctor about an occupational therapist visit.
Does Medicare cover a home safety assessment?
Sometimes. It is typically ordered by a physician, and reimbursement is primarily through Medicare Part A in situations such as home health care. Because coverage depends on the individual’s circumstances, confirm with the doctor and Medicare before scheduling.
What is the most important bathroom safety upgrade for seniors?
Grab bars and nonskid surfaces are the core pair, with a shower stool and handheld shower head for anyone who tires standing. A night light on the way to the bathroom helps as well. Start with what addresses your parent’s biggest difficulty.
How often should a home be reassessed?
Whenever the person’s needs change, and periodically even when they do not. Hospital stays, new medications, a fall or changes in vision or memory are all good prompts to walk through the checklist again.
Sources
- NIA: Home Safety Checklist worksheet
- NIA: Preventing Falls at Home, Room by Room
- CDC STEADI: Check For Safety brochure
- UNMC: Assessment and Intervention of Home Safety Concerns
- University of Georgia CAES: Home Safety Checklist
- Age Maine: Evaluating Home Safety
- Pennsylvania Department of Aging: Home Safety Worksheet
- Threshold OT: Aging in Place Home Safety Assessment Checklist
- MLPT: Home Safety Evaluation
- NSW Health: Home Safety Checklist
- NHS: Home adaptations

[…] not sure how safe your home is, a room-by-room walkthrough is a good companion to this routine. Our home safety assessment guide covers […]